Are you looking for creating a time-lapse video for your upcoming project? This article will help you set up your DSLR to capture the best possible frames & post-processing the frames to create a time-lapse video.
DSLR on Continuous Power
For a short-term time-lapse, you may choose to operate the DSLR on battery with some spare batteries to ensure a continuous capturing of the scene. But when it comes to long-term time-lapse creation, batteries won’t help. You need to remove the battery & insert the “Dummy Battery DC Coupler Power Adapter”. Battery eliminators/adaptors for Nikon & Canon cameras are easily available. A DC couple can keep the camera ON for months & years without damaging the camera hardware at all.
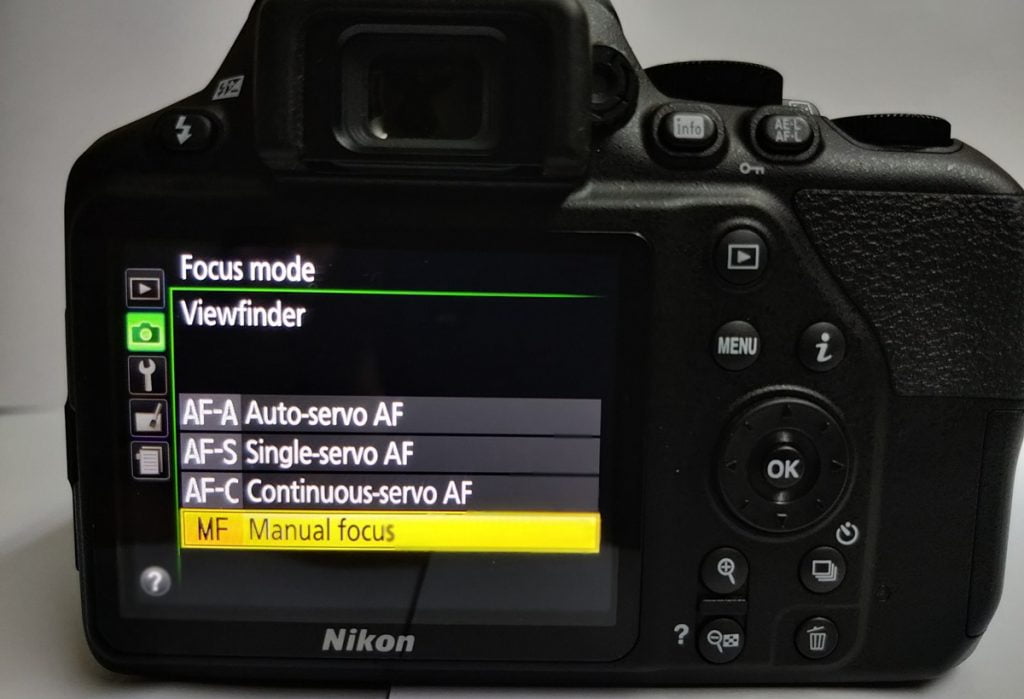
Manual Focus
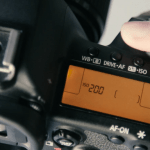
It is strongly recommended to put your camera on Manual Focus Mode & to keep the focus close to the subject. For a Nikon DSLR camera, go to settings > manual focus & adjust the focus ring on the lens to sharply focus on the subject. To keep the manual focus ring, secure it with tape. Once set, the camera will keep on focusing on the subject as configured during the initial setup.
Keeping the camera in Manual focus mode ensures the best frames are being captured. If the camera is in auto-focus & is focusing on an unwanted subject then there is no way it can be fixed. Even post-processing won’t help.
When the subject is changing or not identifiable, ex. huge landscapes etc., you may wish to keep the camera on “Auto Focus Mode” (although it is not recommended). This way, the camera automatically adjusts the focus using its AF algorithm & captures an appropriate frame as per the prevailing lighting conditions.
Note, there is always a risk associated with capturing the images in auto-focus mode as the subject is always changing. Moreover, while post-processing a long-term time-lapse video, a lot of flickering will be introduced since the camera keeps on switching its focus overtime & one cannot highlight a particular subject in the processed time-lapse. This may ruin months & years of effort.
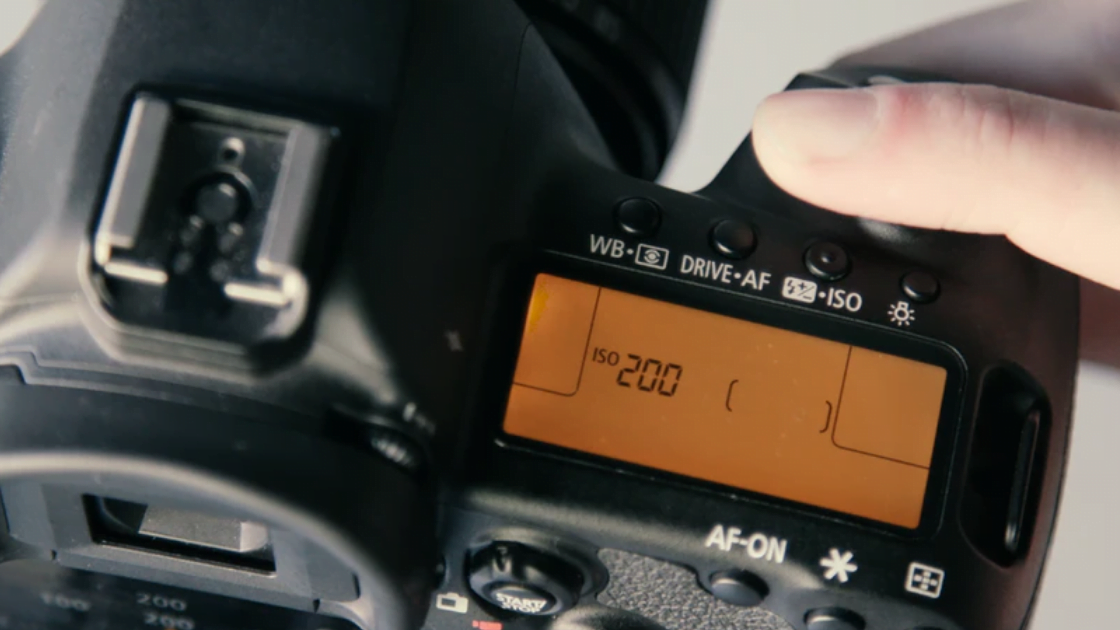
Aperture Priority Mode
Let us first understand the Aperture Priority Mode in brief. Aperture priority mode fixes a specific F-number & varies the ISO & shutter speed. An aperture value controls the depth of field. Just remember the thumb rule, “Bigger F-number – better background, Smaller F-number – Soft Background”.
In order to capture a portrait image where you want the subject to be clearly focused & background blurred, use a smaller F-no. (Or wide aperture) F/2 – F/4.
When capturing construction sites, landscapes, or nature where the subject cannot be pin-pointed, use a bigger F-no. (Or narrow aperture) F/10 – F/13.
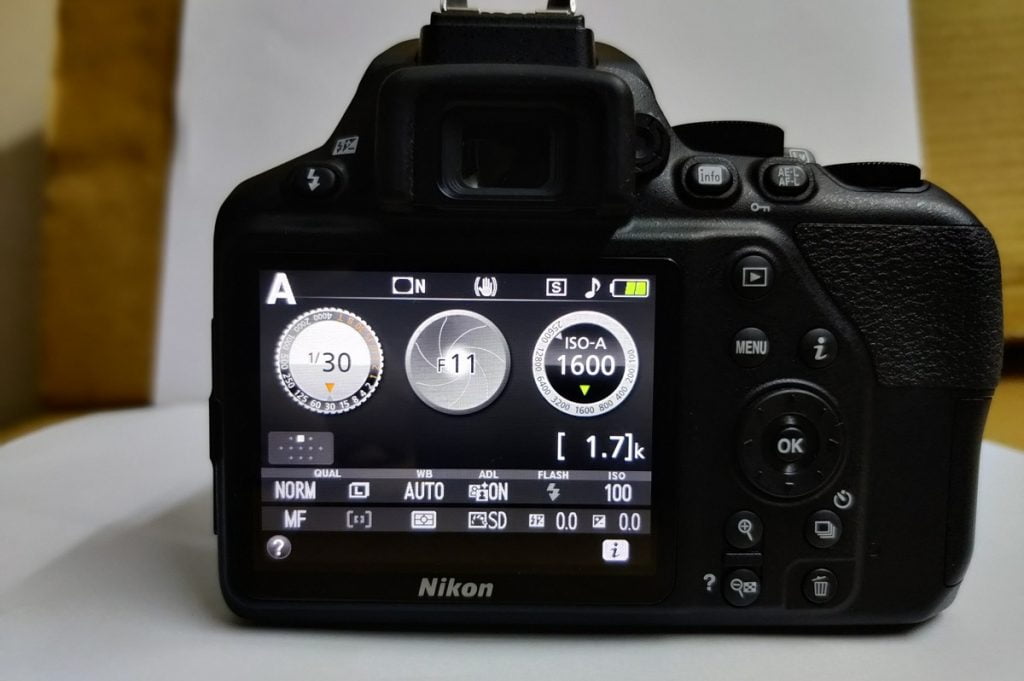
Select the Aperture priority mode by turning the PASM dial on top of the DSLR body. Rotate the control wheel to set the desired F-number visible on the screen.
Image Type: Raw or Jpeg?
Raw images are too heavy in size to create a long-term time-lapse video. Jpeg images are smaller in size, saves money for storing the data, pre-processed & can be easily corrected (if required) while post-processing the time-lapse.
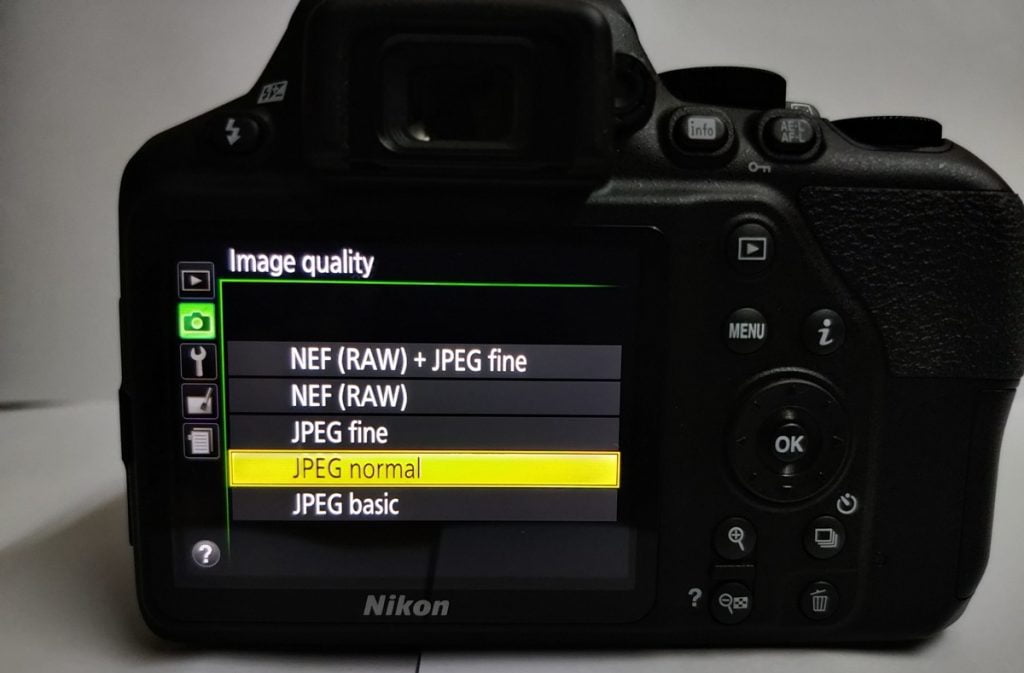
Experts may prefer to capture raw images to utilize the benefits of getting precise control while editing, adjusting white balance & playing with full dynamic range.
Time-lapse Editing: Use of Warp Stabilization
If the camera is mounted over unsteady or shaky support, frames captured are slightly different from one another. When these images are directly imported to create a time-lapse video, the results won’t eye-catchy. The process of stabilizing a shaky & uneven time-lapse is known as “Warp Stabilization”.
Warp stabilization can be achieved by using Adobe Premiere, Virtual Dub Deshaker, Wondershare Filmora. If you are a beginner & looking for a budget-friendly option, Virtual Dub Deshaker is a free & easy tool for Warp Stabilization.
Note: If the frames are shaky, warp stabilization should be the first step for post-processing.
[contentcards url=”https://blog.opticvyu.com/factors-for-choosing-construction-camera/”]
Time-lapse Editing: Use of LR Time-lapse
The camera does a 70% job for you by capturing the images at predefined settings. But mesmerizing effects can be introduced while post-processing that’s where a flickered & uneven slide show becomes a “Time-Lapse Video”
Removing Flickering
When exposure changes from frame to frame, the video created out of these frames doesn’t ease our eyes. It’s like arranging the blocks of the same size but different shades in a row. De-flickering is the process of removing over-saturated, brighter & darker images from the time-lapse video.
LRTimelapse is an efficient tool helping easy removal of over-saturated, high/low contrast/hue images while editing a long-term time-lapse.
Blending or Motion Blur
Imagine these blocks of the same size & shades are now well arranged in a row but separated by small gaps. This is what happens when we create a time-lapse video by bluntly arranging the frames one after another.
LRTimelapse helps in introducing frame-to-frame transition by overlapping each frame onto the next frame giving a feel of a well-blended video. The extent of blending can be controlled depending on the use case.
Time-lapse Editing: Transitions, Images, Drone Images, etc.
Time-lapse stabilized for shaky frames, de-flickering & blending can be further post-processed for
- Introducing transition between the different views,
- Adding project details, highlights, logo, etc on the front frame
- Milestones achieved over the project tenure
- Introducing short videos of important activities
- Adding drone footages & slow-motion videos in between
- Add music
- Client name, company, address at the end, etc.
You may use Movavi, Wondershare Filmora, or Windows movie maker to introduce these details.
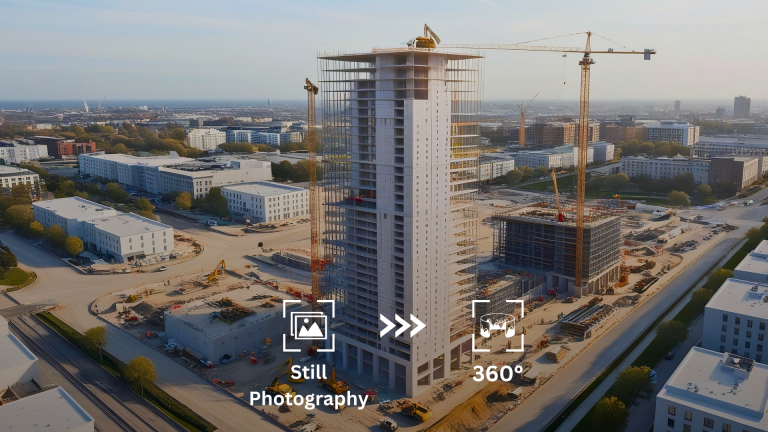
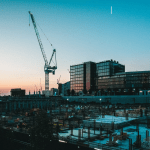
Static Location for Monitoring Construction Projects
The most important call is to finalize a camera location that captures the overall construction project progress from top to bottom. The camera can be tilted up or down as the project progresses but the frequency of changing orientation is shown as little as possible. We prefer to not change the camera location until project completion.
Secondly, the camera mounting should be sturdy. The camera should not move due to wind & birds sitting on it. It is not recommended to mount a camera on tower cranes or slender poles.
If due to the site constraints, the camera couldn’t be mounted on a stable location, warp stabilization can be used to reduce the shakiness to a great extent.
Enclosure for Outdoor Shooting
For outdoor application, the camera has to be placed in a well-built weatherproof enclosure with the provision of supply power to the camera & its adapter. It is recommended to keep a few silica bags inside the enclosure to absorb moisture on the camera lens to avoid compromising the image quality.